
A chop-and-flip IBC system earns its name honestly: the top of a food-grade tote becomes the grow bed, while the larger lower section becomes the fish tank. It is compact, sturdy, and wonderfully practical, but the cutting is the easy part. The difference between a backyard system and a backyard puddle is the planning done before the saw starts.
This guide follows the build in working order, from choosing a tote through the first wet test. It assumes a media bed above or beside the tank, continuous pumping, and either a bell siphon or a timed/constant-flood drain. If you are still comparing layouts, begin with the beginner start-here guide and come back with a rough sketch.
Affiliate disclosure: This guide contains Amazon affiliate links. If you buy through one of them, Aquaponics411 may earn a commission at no additional cost to you. As an Amazon Associate, Aquaponics411 earns from qualifying purchases.
Before You Buy an IBC Tote
From my system: Flagship field note: this was one real system, not a theoretical parts list. It ran through summer heat, algae, a Northern Virginia winter, short power outages, plant overgrowth, nearly 20 growing tilapia, and eventual teardown. Use those outcomes to explain why each design choice matters.
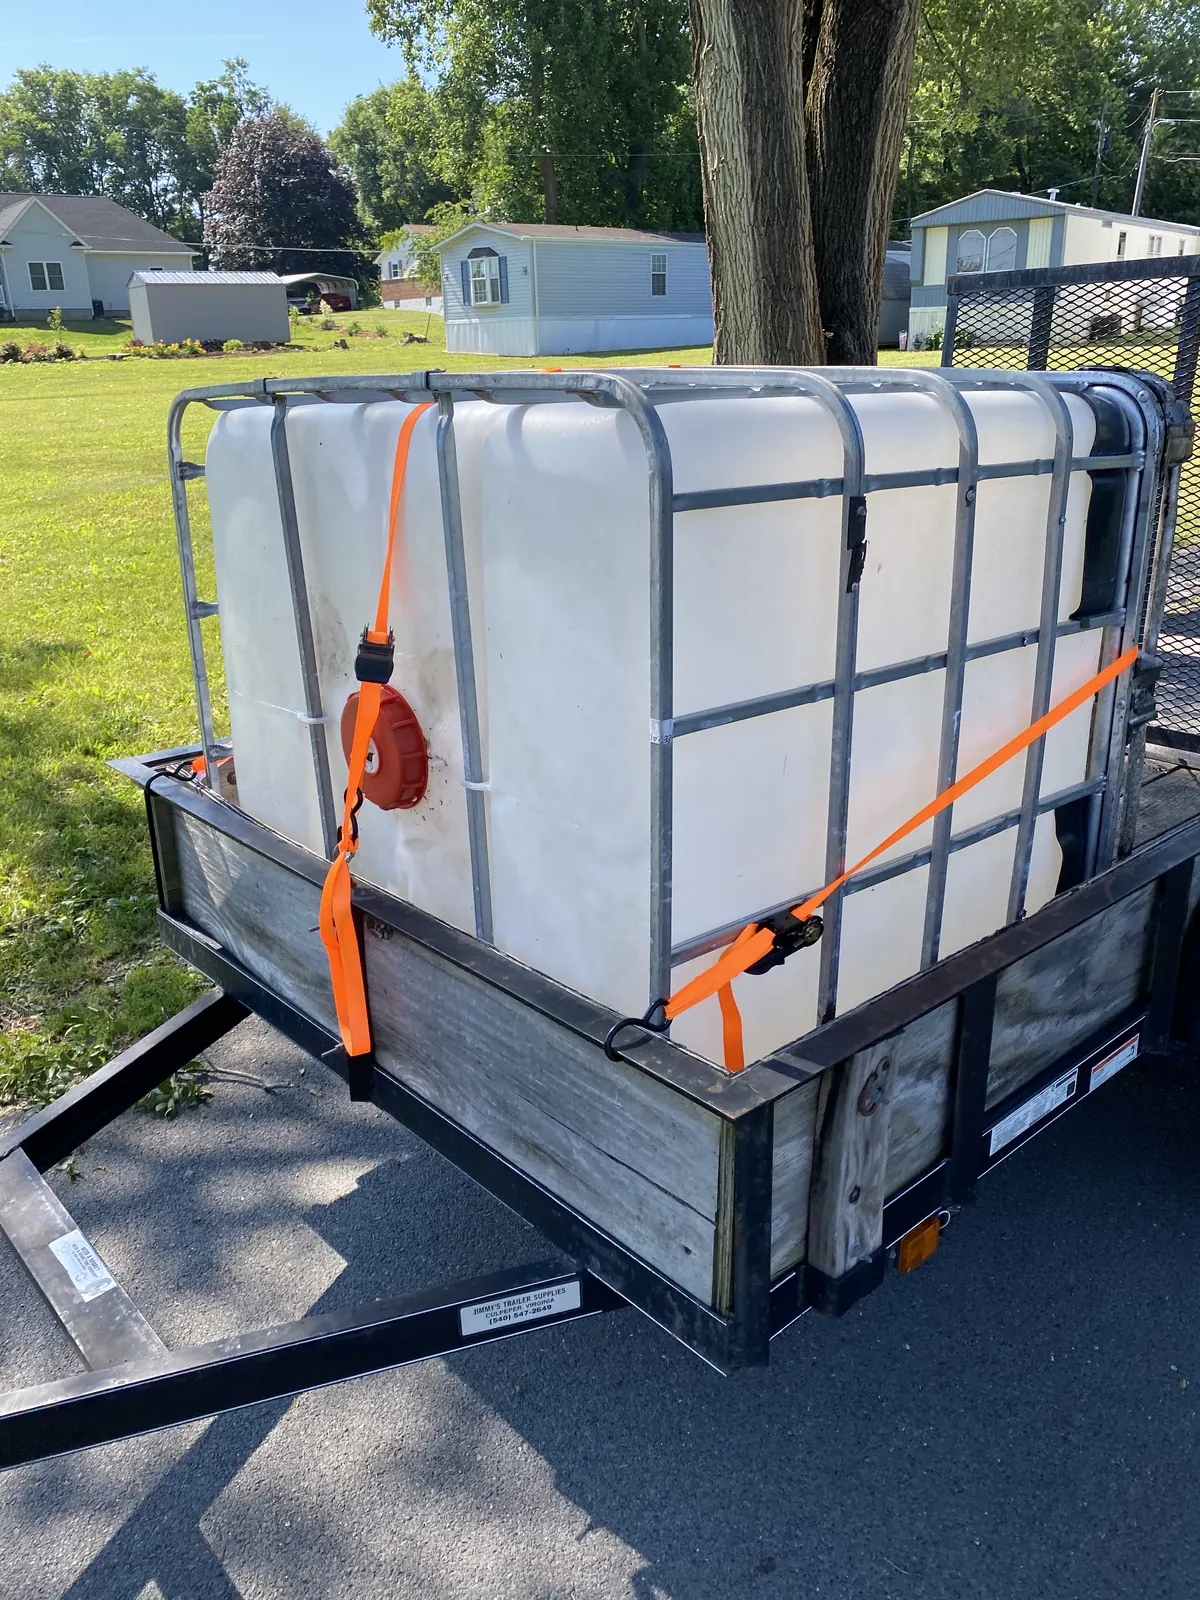
Use a tote whose previous contents are known and suitable for food-growing use. A vague promise that it was “cleaned” is not a contents history. Avoid containers that held pesticides, petroleum products, industrial cleaners, or anything you would not want near fish and edible crops; plastic can retain residues even when it looks spotless.
Inspect the inner bottle for cracks, chalking, deep staining, and damaged threads. Check the steel cage, pallet, and bottom valve as well. A full tote weighs several thousand pounds, so the base must be level, compact, and capable of supporting the load without settling.
Plan the Cut Line and Finished Water Level
Do not copy a cut line from a photograph without considering your tote. The grow-bed section needs enough depth for the chosen media, a dry zone above the flood level, room around the drain, and enough rim strength to resist bowing. The fish-tank section needs useful water volume plus freeboard so enthusiastic fish, rainfall, and returning drain water do not create surprises.
Mark all four sides from fixed cage references and connect the marks with a straightedge. Before cutting, decide where plumbing, electrical cords, inspection access, and fish feeding will happen. A beautiful grow bed directly over the only comfortable access opening becomes less beautiful the first time a pump needs cleaning.
Tools and Materials That Actually Earn Their Keep
- Eye protection, gloves, hearing protection, and a respirator appropriate for plastic dust
- A jigsaw or reciprocating saw with a suitable fine-tooth blade
- A drill and correctly sized hole saw for the selected bulkhead or uniseal
- Deburring tool, file, marker, tape measure, level, and clamps
- Food-compatible plumbing parts, unions, valves, pump, aeration, and grow media
Useful shopping starting points include a bi-metal hole-saw kit, plastic/PVC deburring tool, and weather-resistant electrical protection. Buy by measured size and rating, not by the first cheerful product photo.
The Chop-and-Flip Sequence
1. Empty, Wash, and Stabilize
Remove the bottle from the cage only if your design and tote allow it safely. Wash it with an appropriate method for its known previous contents, rinse thoroughly, and keep the bottle supported while marking. Never climb inside a tote, and never use heat or flame around an unknown container.
2. Make a Controlled Cut
Drill starter holes where necessary and cut slowly enough to follow the line without melting the plastic into a ragged edge. Support the offcut so it cannot tear away near the end. Deburr every edge that hands, tubing, or fish-handling nets may touch.
3. Reconfigure the Cage
The cage must support the flipped grow bed rather than merely surround it. Remove or reposition only the bars required by the plan, smooth sharp metal, and reinforce the bed support where the original cage no longer carries the load evenly. Remember that wet media is heavy; “it held while empty” is not a structural test.
4. Drill the Drain and Return
Drill on a flat, well-supported area and use the hole size specified by the bulkhead or uniseal manufacturer. A hole that is “close enough” often becomes a leak with excellent timing—usually after the media is installed. Keep enough clearance for the flange, gasket, wrench, and future replacement.
5. Dry-Fit Every Plumbing Run
Install unions near the pump and any component likely to need service. Use valves for isolation and tuning, not to rescue pipe that was undersized from the start. The detailed aquaponics plumbing guide covers pipe sizing, overflows, bulkheads, and bypasses.
Choose the Drain Strategy
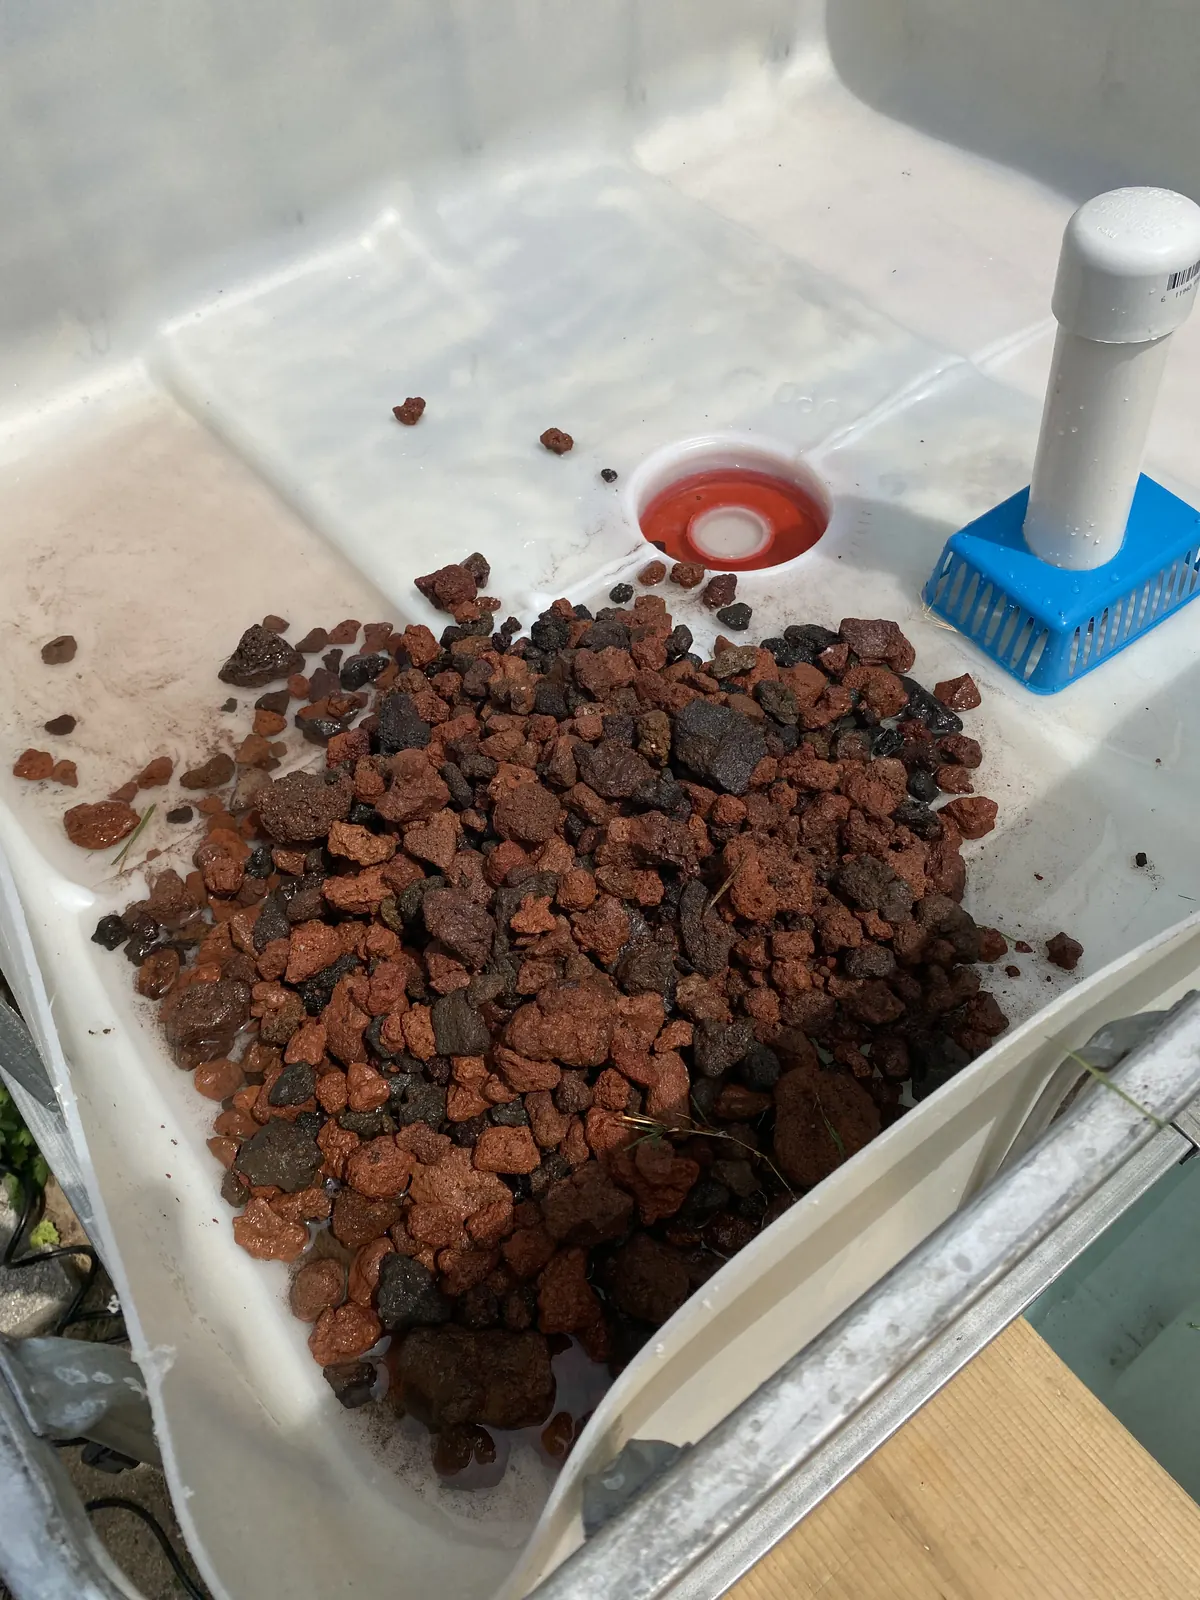
A bell siphon creates automatic flood-and-drain cycles while the pump runs continuously. It is satisfying when tuned and educational when it is not. Constant flood has fewer moving variables, while timer-controlled flood and drain can be straightforward if the pump and timer are suited to frequent cycling.
If you choose a siphon, build the standpipe, bell, outlet, and media guard as one coordinated system. The bell siphon guide explains why inflow and outflow must be tuned together.
Pump, Aeration, and Electrical Safety
Select the pump from its flow chart at the actual head height, including lift and plumbing resistance. Provide aeration independently enough that a clogged water return does not silently remove the fish tank’s oxygen. Route every cord with a drip loop and protect outdoor circuits with appropriate ground-fault protection.
For the calculations, use the pump-sizing guide and the aeration guide. A spare air pump is less exciting than a new grow light, but fish have notoriously poor appreciation for exciting purchases.
Wet-Test Before Adding Media
Fill in stages. Inspect the bottom valve, cut edges, penetrations, and every joint while dry access is still easy. Run the pump through normal operation and a simulated power outage, confirming that drain-back water stays inside the system and that restarting does not require a lucky shake.
Mark the normal operating level and maximum safe level. Then test the drain repeatedly before washing and adding media. Once the bed is full of rock, a five-minute fitting adjustment becomes a character-building afternoon.
Commissioning the System
Rinse media until the discharge is reasonably clear, fill with suitable dechlorinated water, start circulation and aeration, and check temperature and pH. Do not add a full fish load to a sterile new system. Build the biofilter first with the fishless cycling guide, then stock conservatively.
Final Build Checklist
- Known, suitable tote history and sound bottle
- Level foundation and fully supported grow bed
- Deburred cuts and protected cage edges
- Serviceable pump, unions, valves, and drain access
- Overflow and power-outage drain-back tested
- Independent aeration and safe outdoor electrics
- Media washed and system cycled before fish
Frequently Asked Questions
Can one IBC tote support a useful aquaponics system?
Yes. It can be an excellent learning and household-scale unit when stocking, filtration, and expectations match its volume. It is not a license to pack the tank with fish until they need reservations.
Must a chop-and-flip system use a bell siphon?
No. Constant flood and timer-controlled flood-and-drain are valid alternatives. Choose the method you understand and can maintain reliably.
Can I bury or partly bury the fish tank?
Only after accounting for soil pressure, drainage, access, groundwater, and the tote’s limited resistance to external loading. An engineered surround is safer than assuming the cage will handle a job it was not designed to do.
Technical Sources
System-design principles were cross-checked with Oklahoma State University Extension and the FAO small-scale aquaponics manual.
Foundation and Support: The Part Nobody Photographs
Water is heavy, media is heavy, and the cage concentrates that load into a small footprint. Remove sod and organic material, compact an appropriate base, and verify level in both directions. Concrete may be suitable where drainage and local frost conditions are addressed; compacted aggregate can also work when contained and prepared correctly. Do not level a full tote by slipping scrap wood under one corner.
Support the grow bed across the cage or a purpose-built frame, not at a few optimistic points. Fill it with water before media and watch for bowing, twisting, or a changing drain slope. If the frame complains during a controlled test, listen before several thousand pounds join the conversation.
Fish Access, Shade, and Escape Prevention
Preserve an opening large enough to see fish behavior, remove a dead fish, net a healthy one, and lift the pump if it lives in the tank. Fit a cover that limits jumping, debris, predators, and direct sunlight while allowing air exchange. A removable insulated lid can reduce winter heat loss, but it must not seal the tank into an oxygen problem.
Shade the inner bottle from ultraviolet exposure where practical. The steel cage is not complete sun protection, and algae enjoys exposed tank walls more than you will enjoy cleaning them. Choose coverings that cannot shed unsafe material into the water.
The First Thirty Days After Cycling
Treat the newly stocked system as commissioned equipment, not a finished ornament. Check fish behavior, water level, pump flow, aeration, and drains every day. Test ammonia and nitrite frequently, feed below the system’s apparent maximum, and remove uneaten feed or accumulating solids.
Keep a written baseline for normal pump sound, bed fill time, drain time, temperature, and top-up rate. Small changes become obvious when “normal” is recorded. That notebook is also how a future helper can tell the difference between a harmless stain and the beginning of a blocked drain.
Continue: See what an IBC aquaponics system really costs and read the 16-month IBC system case study before finalizing a build.