
Aquaponics DIY Tools: Cutting Plastic, Steel, PVC and Drilling Holes
Aquaponics construction has a funny way of turning one “simple” container into four different materials problems.
The tote wall is thin plastic. The cage is steel. The plumbing is PVC. The fitting hole needs to be round enough to seal.
Those jobs do not want the same tool.
The useful rule is boring: match the tool to the material, support the work and make the cleanest controlled cut you can.
What I actually had for my IBC build
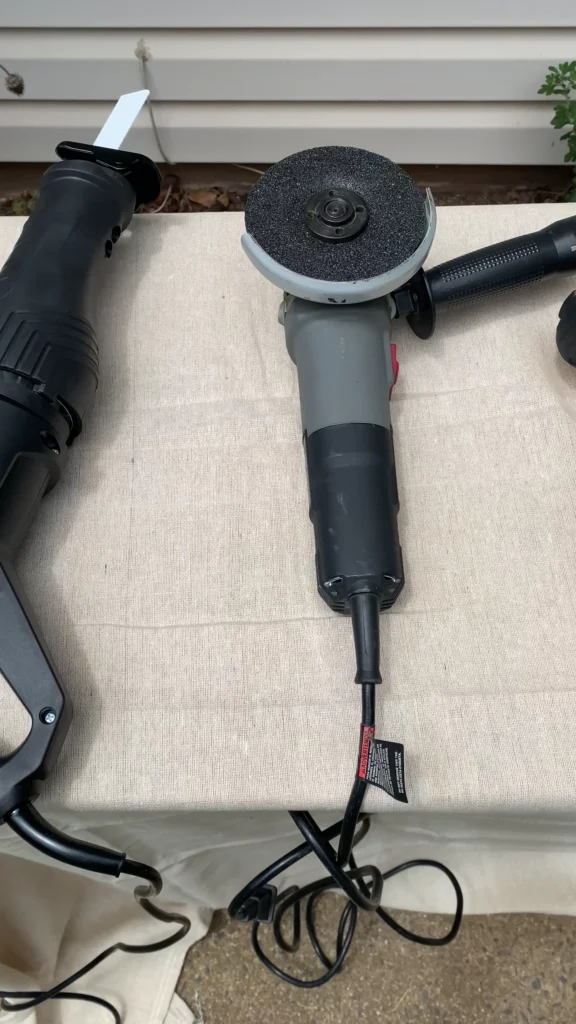
I did not build my system with a special aquaponics tool kit.
I already owned Sawzalls, cordless drills, drivers and a pile of bits. Looking back, I think the only tool-related consumable I had to buy specifically for the build was metal blades for the reciprocating saw, plus caulk.
That matters when somebody tells you an IBC system costs almost nothing. A cheap build looks a lot cheaper when the garage already contains hundreds of dollars of tools.
The system itself was straightforward enough to cut and assemble. It was not technically exotic. It was still work.
Tool-to-material choices
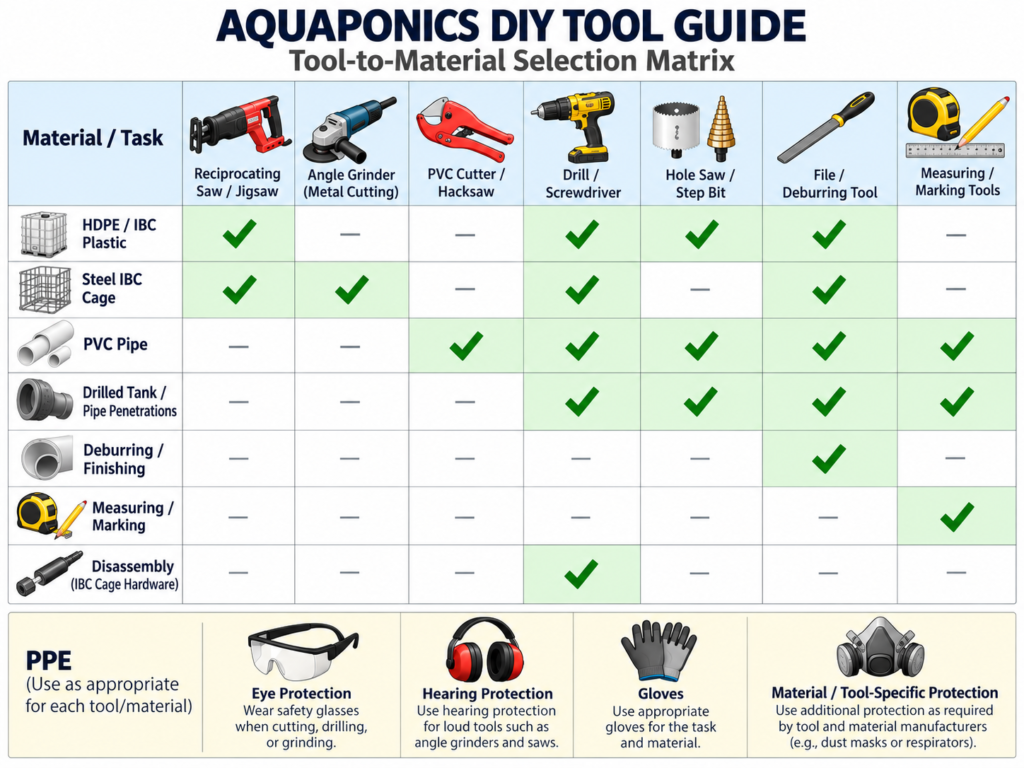
For thin IBC plastic, a jigsaw or reciprocating saw with an appropriate blade can work well when the tote is supported and the cut is controlled.
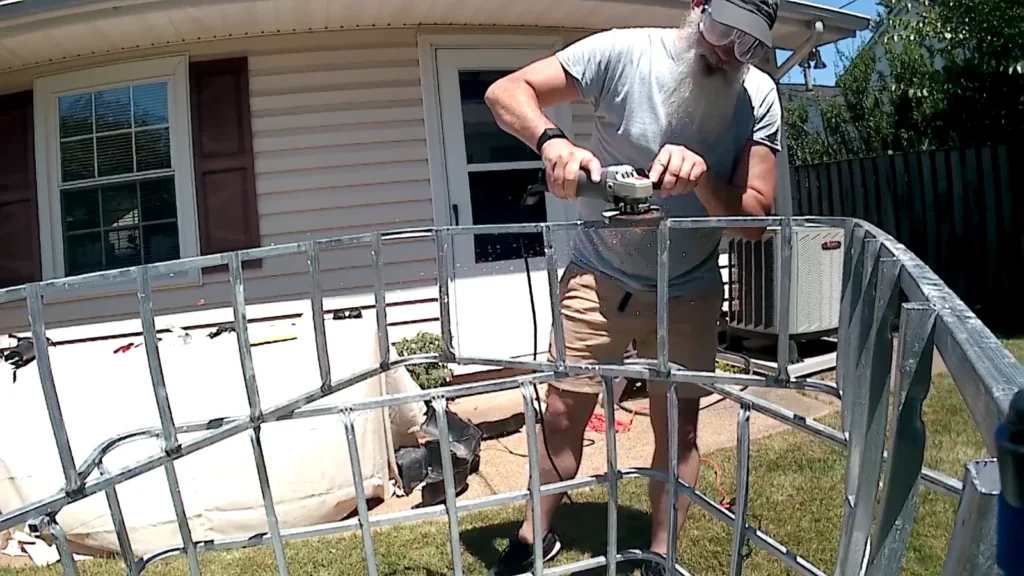
For the steel cage, a properly guarded angle grinder with a wheel rated for the tool and material is fast, but it brings sparks, sharp edges and abrasive-wheel hazards.
For PVC, a ratcheting cutter is convenient on pipe sizes it is designed to handle. A fine-tooth saw or hacksaw is a reasonable alternative when it produces a square cut.
For tank penetrations, the right drill and hole saw depend on the fitting manufacturer’s required hole size, not just the nominal pipe size.
For finishing, a file, scraper or deburring tool can save you from damaging a gasket or fighting a bad PVC joint later.
Cutting IBC plastic cleanly
Thin HDPE or similar tote plastic can flex while you cut it.
Mark the line first. Support the panel so it does not chatter. Avoid forcing the blade. Excessive speed and pressure can heat the edge and leave you with a melted, rough opening instead of a clean cut.
The detailed cut pattern for the actual tote belongs in the IBC Tote Aquaponics Chop-and-Flip Build Guide.
This page is about the tool decision.
Cutting the steel cage
The cage is where the job changes character.
An angle grinder can make quick work of steel, but “quick” does not mean casual.
Use the guard. Use a wheel rated for the grinder speed and intended material. Control the spark path. Keep combustible material away. Protect eyes and face, and use hearing protection where the tool/noise calls for it.
OSHA’s rules apply to workplaces, not as a backyard aquaponics building code, but the underlying hazard logic is useful: grinding and cutting can throw fragments, and abrasive wheels require guarding.
If you cannot control the work safely, use another cutting method or have the metal cut for you.
This guide intentionally does not teach torch cutting, welding or other hot-work procedures.
PVC: square is more important than impressive
A crooked PVC cut makes the next steps harder.
Charlotte Pipe’s technical guidance emphasizes proper pipe preparation for solvent-cement joints. In practice, that starts with a reasonably square end, followed by removing burrs and sharp edges.
A ratcheting cutter can produce a clean cut on pipe sizes it is designed for. A saw works too.
Do not turn deburring into aggressive reshaping. The goal is to remove burrs, not carve away the sealing surface.
For the full plumbing context, use the Aquaponics Plumbing Guide.
Drilling holes for bulkheads and seals
This is one of the places where guessing gets expensive.
Do not pick a hole saw simply because the pipe is labeled 1 inch, 1½ inch or 2 inches.
Bulkheads, tank adapters and flexible seals have specific required hole diameters. Use the current instructions for the exact fitting.
Mark carefully, support the material and drill a round hole. Deburr it without enlarging it.
A slightly ugly saw cut in the top of a grow bed is annoying. An oversized bulkhead hole can become a leak you get to think about every day.
I learned the leak lesson the hard way on a separate penetration for a temperature sensor. I drilled low in the IBC and had a hell of a time getting it sealed. It took a lot of caulk and, as I remembered it in the interview, some mighty foul words.
That does not make me a fitting expert. It does make me skeptical of casual “just drill a hole here” instructions.
Measure, clamp and deburr
The cheap tools prevent expensive mistakes.
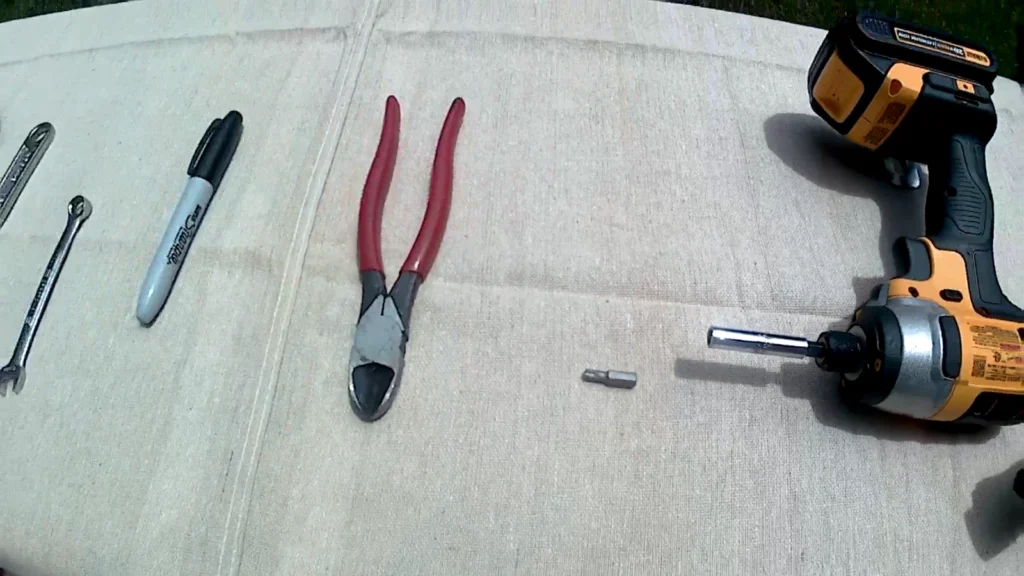
A tape, square, marker, clamps and a file are not glamorous. They help make sure the cut is where you intended, the workpiece stays where you put it and the finished edge does not destroy the part that has to seal against it.
Do not hold a part by hand when it should be clamped.
Do not defeat guards to reach an awkward cut.
Reposition the work.
Electrical tools around water
The system may be empty while you build it, but aquaponics is still a wet environment.
Keep portable electric tools, extension connections and chargers out of standing water and wet work areas. Follow the tool manufacturer’s instructions and applicable electrical requirements.
This page does not provide mains-wiring instructions.
A practical minimum tool set
For a typical IBC-style build, a sensible working set is:
- measuring tape, square and marker;
- drill/driver and the correct bits/hole saws for the selected fittings;
- controlled plastic-cutting tool;
- suitable metal-cutting tool if the cage must be modified;
- PVC cutter or saw;
- clamps;
- file/deburring tool;
- appropriate eye/face and hearing protection.
You may already own half of it. That is different from the tools being free.
Bottom line
There is no single “aquaponics tool.”
Use the least aggressive tool that gives you a controlled result. Let the fitting instructions determine hole dimensions. Keep guards in place. Clamp the work. Deburr the cut.
The goal is not to make sparks.
The goal is to finish the build without turning a $10 mistake into a leaking tank.
Sources
- OSHA — General hand and power tool requirements: https://www.osha.gov/laws-regs/regulations/standardnumber/1926/1926.300
- OSHA — Guarding of portable powered tools: https://www.osha.gov/laws-regs/regulations/standardnumber/1910/1910.243
- OSHA — Eye and face protection: https://www.osha.gov/laws-regs/regulations/standardnumber/1910/1910.133/
- Charlotte Pipe — Technical manual: https://www.charlottepipe.com/uploads/documents/technical/TM-CD.pdf